Okay, I lost track and was just posting pics without explaining much. I said I would post as I learn new tips n tricks. Well here's a kicker for you all.
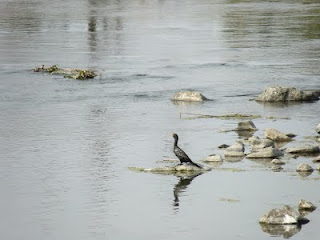
This is the original image, slightly over exposed so colour detail is lost somewhat. Time to take it into PhotoShop.
First thing I did was to twiddle the shadow/highlights a bit to lighten shadows and darken the background a tad (under Image, Adjustments - Shadow/Highlights). Once that was sorted it was time to adjust colours with selective colour, shift the brighness/contrast to boost colour a tad more and give it very subtle saturation. Once I had colour, brightness, saturation and all that done, it was time to add to the point of focus. So, I added a blank layer and filled it with a gradient fill using the gradient tool. Set it to wide radial to darken the rim of the image and draw one's eye to the centre of focus, then made the opacity 30% so it doesn't overpower the focal point.
Then I got carried away...
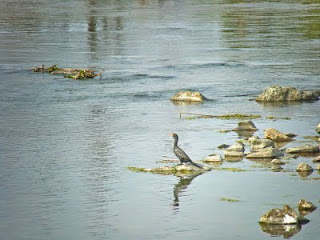
I added another layer duplicating the image, added a gaussian blur of 8.6 and using my eraser, with a 300 pixel brush size set to 40% opacity, started to erase from my centre of focus outwards. Once I'd done that I got to thinking of adding yet another layer. This time I duplicated the original adjusted image and converted it to a high contrast black and white (shifting saturation all the way to the left then adding brightness/contrast and merging these into the layer) which I then also erased wider than the blurred layer. So now I have four (4) layers in total and the image is really starting to take shape. One final thing, I thought to myself, was to add a border frame for canvas print... so I went to work again. I selected a rectangle (using the rectangle select tool) and drew a rectangle, as even as possible, and then inversed my selection (Alt-S ~ inverse) to have only the border selected. I then added more Gaussian blur and with 30% opacity painted white over it. After that I boosted the exposure (Alt-I [Image]; Adjustments - Exposure) by roughly +1 to brighten the border which will then be folded over the canvas edge. The final result below...
 And so ends a brief tutorial on making an image more attractive. Now go out and take pictures keeping this in mind.
